Reviews


Wedding Sparkler Exit: How to Plan the Perfect Send-Off
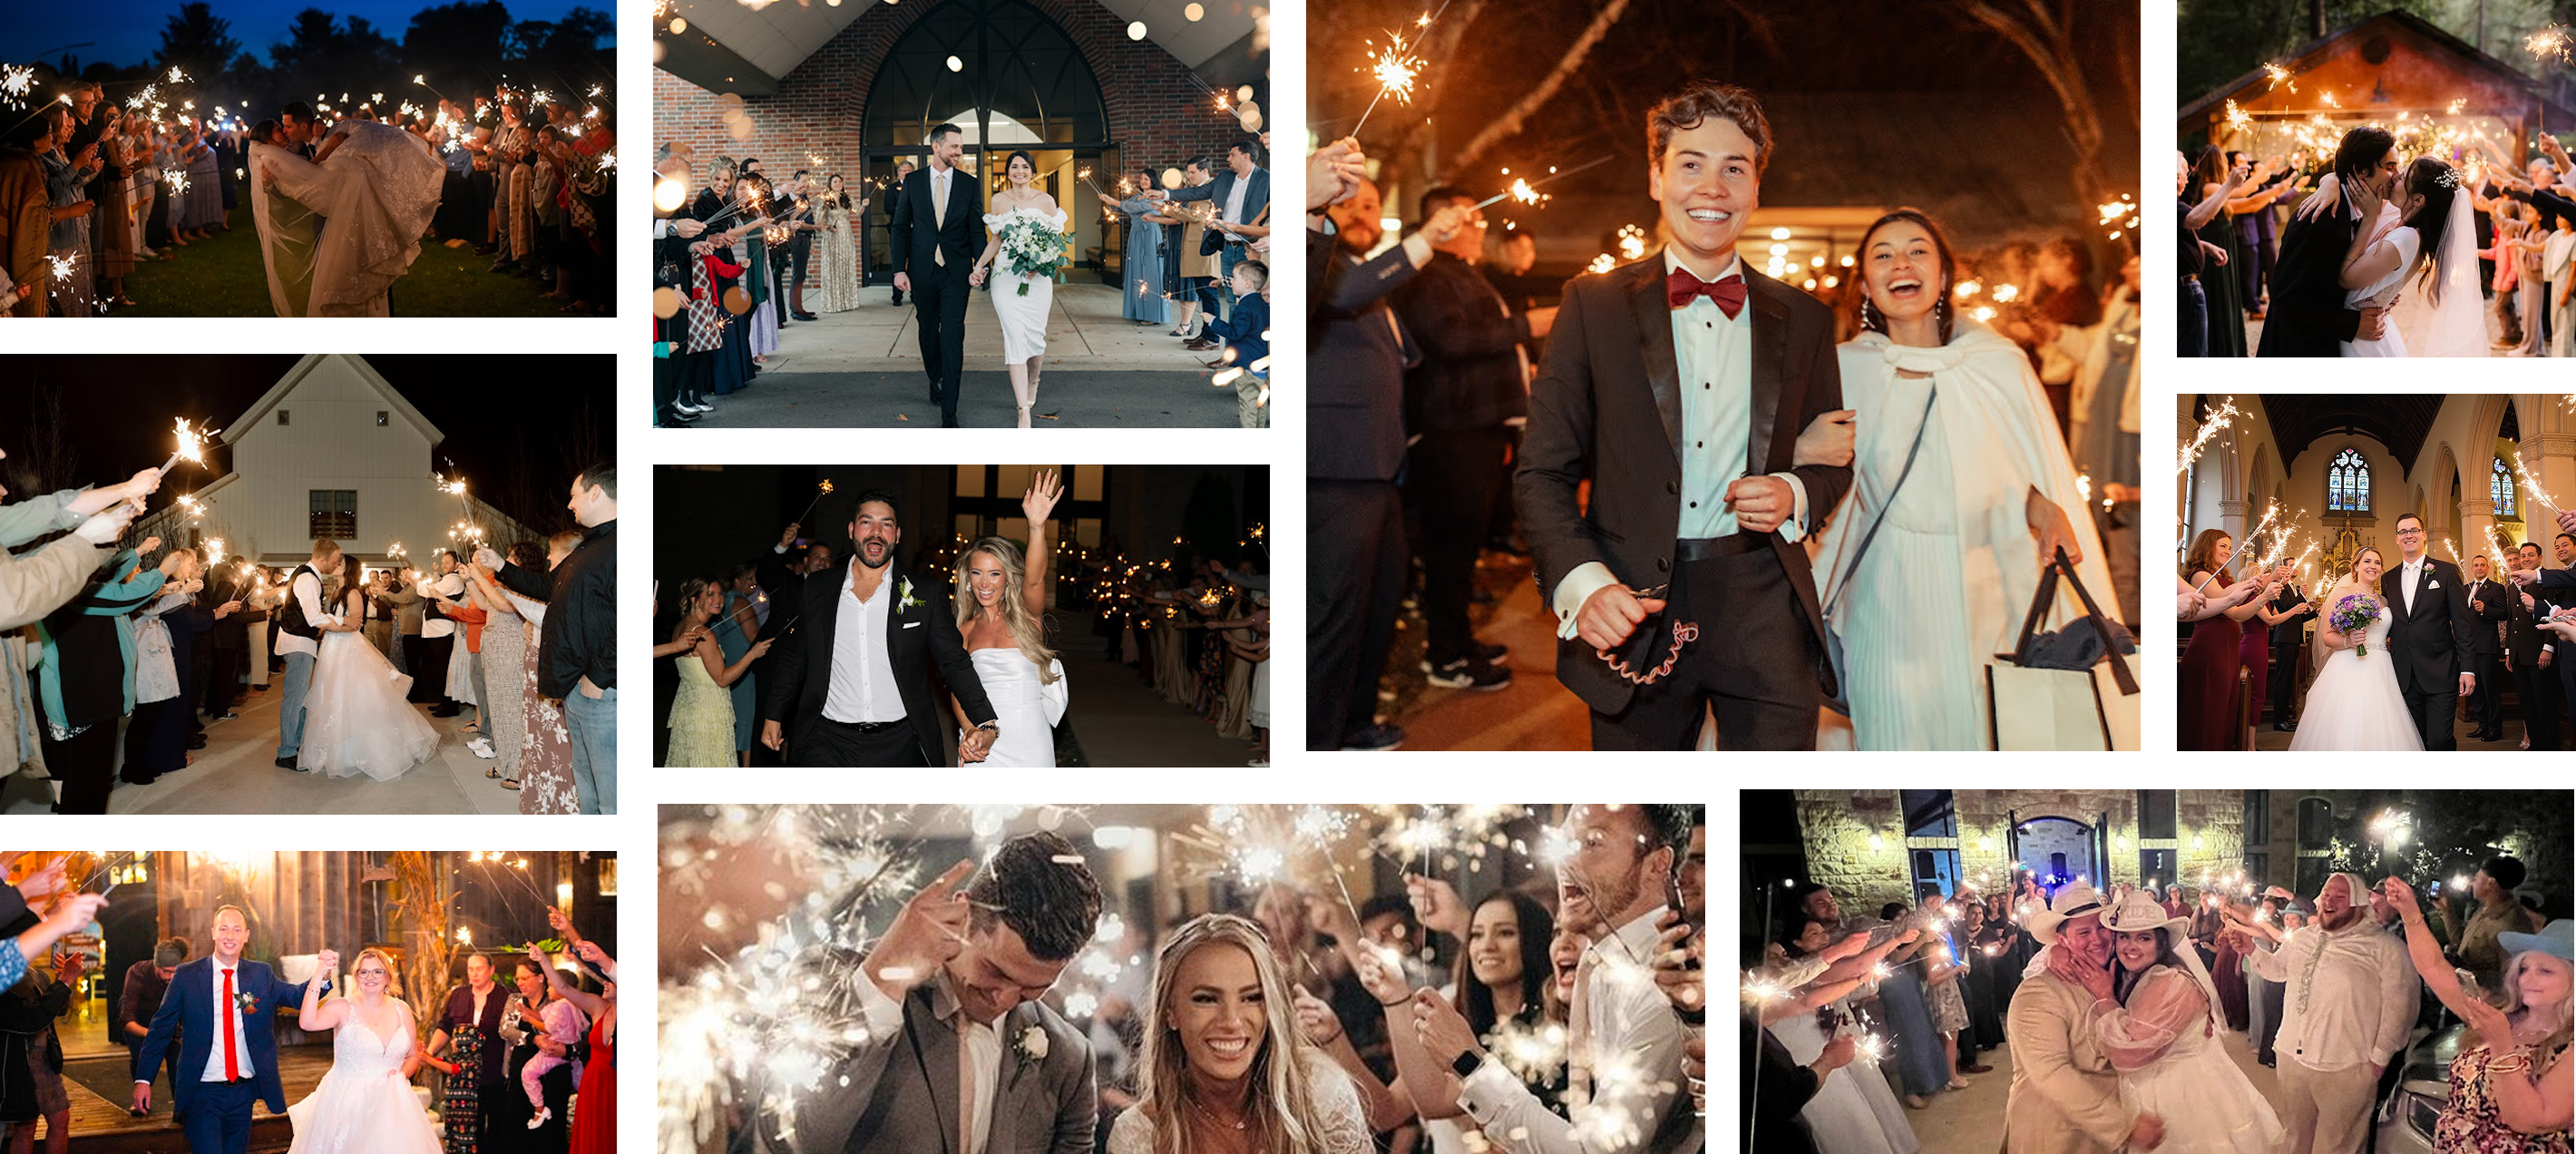
The sparkler exit is one of those moments that looks completely spontaneous in photos — guests glowing, couple walking through a tunnel of light, everyone cheering. What those photos don't show is the 20 minutes of coordination that made it happen.
That's not a complaint. It's just the reality. And once you know what goes into it, it's genuinely not hard to pull off. Here's the full picture.
First, Lock Down the Basics
Before you get into the fun stuff, there are two practical conversations you need to have: one with your venue and one with your photographer.
Some venues don't allow open flames at all. Others allow sparklers only in specific outdoor areas or with advance notice to the fire marshal. Find this out early — ideally when you're still touring venues, or at least months before the wedding. Getting a 'no' two weeks out is a lot more stressful than working around a restriction you knew about from the beginning.
Your photographer is the other key conversation. Sparkler exits are shot with long-exposure settings, which is a specific technique not every photographer has experience with. If your photographer hasn't done sparkler exits before, that's not a dealbreaker — but it is a conversation worth having. Discuss the direction you'll walk, whether you'll do multiple passes, and where they'll position themselves.
Choose Sparklers That Give You Enough Time
For most weddings, 36-inch sparklers are the move. The 3.5 to 4 minute burn time means your sparkler coordinator can work their way down both sides of the line without racing the clock. For smaller weddings, 20-inch sparklers work great and are plenty of time for 30 to 80 guests.
Stay away from whatever's on the shelf at a party supply store. Regular sparklers burn fast, smoke a lot, and aren't designed to stay lit long enough for a proper exit. Wedding sparklers cost a bit more and are absolutely worth it.
Someone Needs to Be in Charge of This
Here's where a lot of sparkler exits go sideways: nobody's actually in charge. Everyone assumes someone else is handling it, the DJ makes an announcement, and 100 people mill around trying to figure out where to stand while sparklers burn down.
Pick one person — a coordinator, a groomsman, a capable friend — and give them a clear job. They're responsible for distributing sparklers before the exit begins, directing guests into two lines, and giving the signal to light up. That's it. One person with one job makes the whole thing dramatically smoother.
The Right Lighters Make a Huge Difference
Please, don't try to light 80 sparklers with a Bic lighter. It takes forever, it burns thumbs, and guests start lighting each other's sparklers before the lines are even formed.
Get two or three torch lighters, or better yet, use an electric sparkler lighter. You can light from both ends of the line simultaneously and have everyone lit in under a minute. It's one of those small investments that just makes everything easier.
Build the Timing Into Your Reception Schedule
Here's something couples consistently underestimate: how long all of this takes. Gathering guests from inside, handing out sparklers, explaining what to do, forming the lines, getting everyone lit — budget 15 minutes minimum, especially for larger weddings. If you only have 5 minutes blocked off in your timeline, something will get rushed.
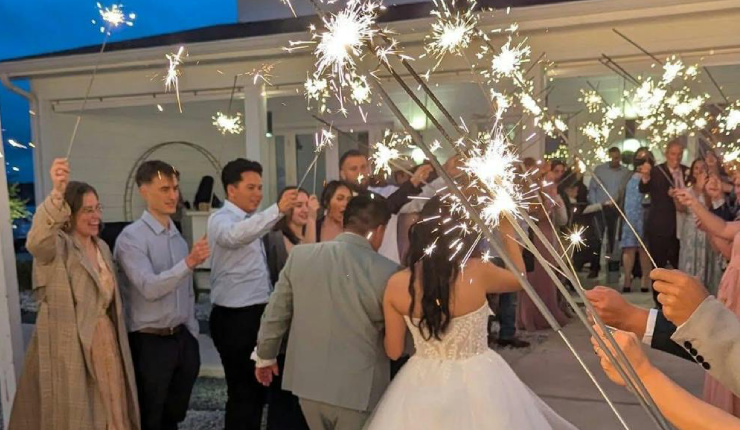
The ideal exit happens after dark — 30 to 45 minutes after sunset is a sweet spot where sparklers really show up in photos. Ask your photographer what they recommend based on your venue and your expected end time.
Safety Doesn't Have to Be Complicated
Set up a metal bucket of sand at the end of the walkway before the exit starts. When guests finish their sparkler, they drop the wire handle in the bucket. Done. No one's tossing hot metal on the grass or trying to figure out what to do with a glowing stick.
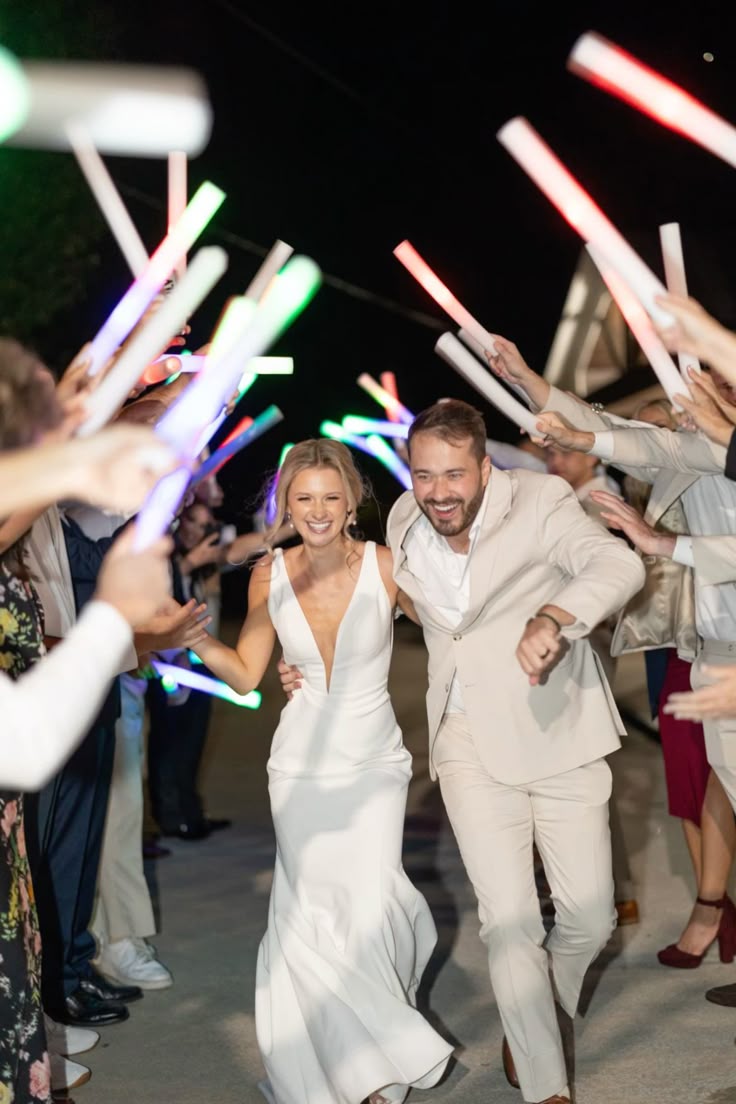
Tell guests ahead of time to hold sparklers at arm's length, angled slightly outward. Keep young kids further back in the line or give them glow sticks instead. And if it's windy, double-check that the sparkler trail won't blow toward the couple or into anyone's hair.
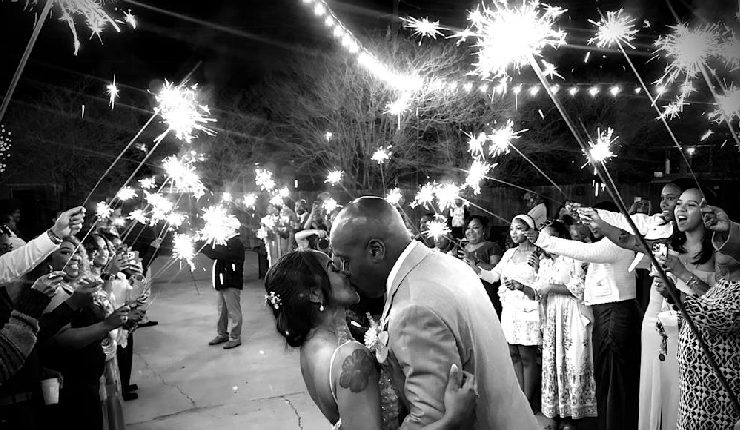
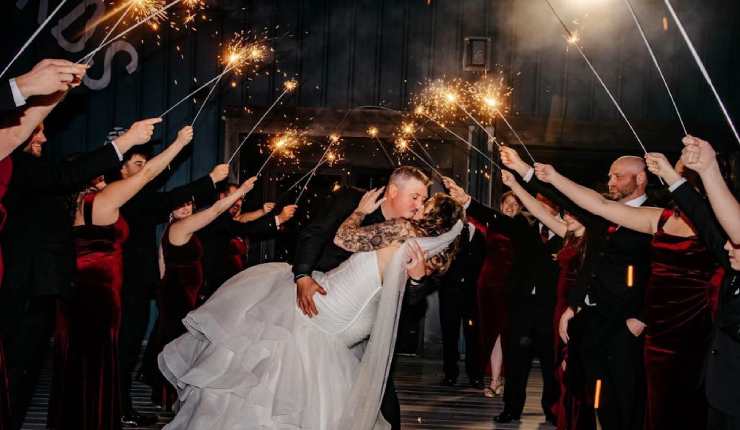
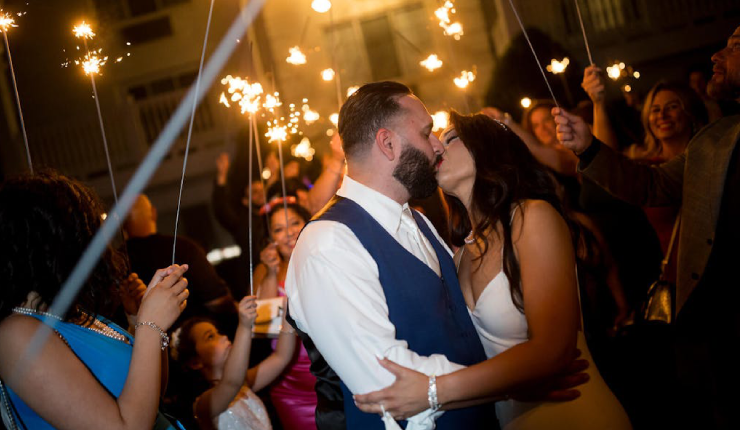
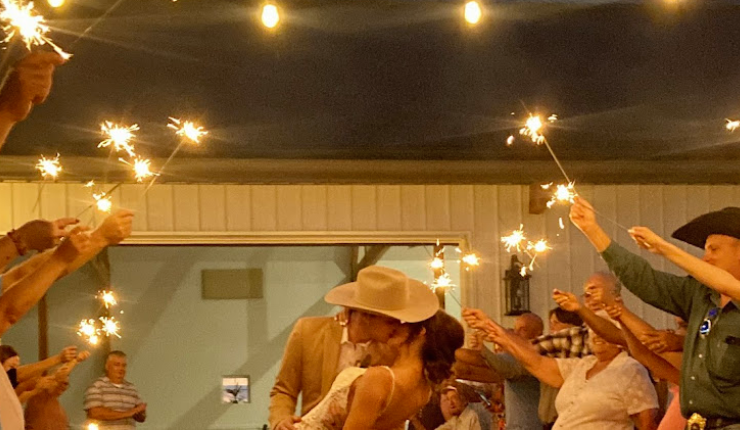
How the Walk Actually Goes
Once most sparklers are lit, the couple enters from one end. Walk slowly — slower than feels natural. This gives your photographer time and makes the whole thing feel more intentional and romantic. Pause somewhere in the middle for a kiss if you can. Your photographer will thank you, and so will your future self when you're looking at the photos.
At the end of the line, turn and wave before you disappear. Guests love it, and it makes for a great final frame.
Then do it again if your photographer wants another pass. It's your wedding — enjoy the moment while it lasts.